
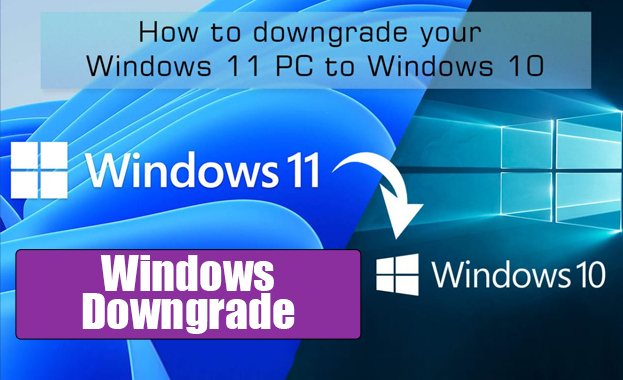
Downgrade/Revert/Reinstall Your Windows Version
So, it looks like your Windows Version (winver) or OS Build (OSB) isn’t compatible with the tool you’re trying to use huh?
No worries, we’ve got you covered. Inside this comprehensive guide we will walk you through on how to downgrade/revert/reinstall your Windows Version as simply as possible without any of the extra fuss..
A note to keep in mind, I will be demonstrating this in Windows 11, but this should still be similar for any Windows 10 user. If you are confused with any step, google is a marvelous tool.
OPTION A: System Recovery
- Navigate to System > Recovery in your Windows Settings.
- If you’ve recently installed a feature update within the past 10 days, this option will be available for you to click & proceed.
- Please follow all of the dialog prompts as well as decide whether you’d like to erase or keep your files.
- If this option is greyed out for you like it is in the screenshot, proceed to OPTION B.
OPTION B: Uninstalling Feature Updates
- Navigate to Control Panel > Programs and Features > View Installed Updates.
- If you’ve recently installed a feature update, it should appear in this list. You may uninstall it (if the option is available to you) and then restart your PC.
- If the option doesn’t appear in this list or is otherwise unavailable to you then proceed to OPTION C.
OPTION C: Reinstalling An Older Windows Version or OS Build
NOTE: YOU WILL NEED A PHYSICAL USB DRIVE FOR THIS!
- Navigate to GetMyOS.Com and select the operating system you’d like to download from the top navigation bar. We will use Windows 10 2004 (20H1) as an example since this winver is supported by most cheeses/spoofers.
- Once you’ve navigated to the Windows 10 ISOs, scroll down until you reach your desired winver. (In this case, Windows 10 2004 (20H1)
- Go ahead and hit the download button and it will direct you to connect your Google Drive account. You may disconnect it after you have downloaded the ISO. If you have any questions, follow the on-screen guide.
- While that’s downloading, navigate to our choice of bootable USB drives creator called Rufus (https://rufus.ie/en/) and download the latest stable version.
- At this point go ahead and format your physical USB drive by plugging it in and right clicking it in your file browser and hit format. Follow the on-screen prompts.
- Once the ISO has finished installing, open Rufus and make sure your physical USB drive is plugged into your PC.
- Select your physical USB drive from the device list at the top field and then select the ISO image that you just downloaded in the Boot selection field.
- Keep all the other options default (or change to your preferences if you’re experienced) and hit start when ready.
- Once the boot creator finishes, you may close the application and prepare to reinstall the OS using your new ISO. At this time, back up any important files, passwords, or anything else you might need later.
- You will need to google a guide on how to get into your motherboard’s BIOS and navigate through it. Each MOBO is different and you’ll need to put in some legwork to figure it out. Most of the time there will be a prompt at the bottom of the boot screen informing you what key to press to access BIOS, but if this is not the case for you then a guide should be somewhere online.
- Navigate to your boot priority and make sure your USB is at the top of it. Once you’ve made sure of this, save your changes and exit/restart.
- Your PC should boot from your ISO on your USB on the next restart. Just follow the prompts to install the brand new ISO.
- Congratulations, you’ve done it! Make sure to disable Windows Updates and you’re golden!